How to Master Facebook Fundraising: Part I
Facebook is one of your most powerful advertising tools when it comes to fundraising with Terri Lynn.
Post Date: Aug 12 2021
You already know Facebook is a great way to keep in touch with friends. But we’ll let you in on a secret…Facebook is also one of your most powerful advertising tools when it comes to fundraising with Terri Lynn. Why?
- Your supporters are online, using Facebook daily
- You can send viewers straight to your Webstore to make purchases
- We’re on Facebook too, with posts you can re-use and re-share to your audience
- There are tons of ways to put Facebook to use for free
We know that even though Facebook is easy to navigate for casual users, it can be challenging for organizations to find and apply all that’s available to promote your fundraiser and help you raise money faster. We’re here to make it easier, and show you how Facebook can be a megaphone for your cause!
Tip: When you're done with this article, head over to How to Master Facebook Fundraising: Part II to dive deeper into using Facebook's tools to convert your fans into buyers!
Scroll through our how-tos below, and start mastering the art of promoting your next Terri Lynn fundraiser on the world’s largest social media platform.
1. Add a Page Button

Think of your group’s Facebook Page as your fundraiser’s storefront. This is where people will go to window-shop your posts, your photos, and your events (more on Facebook Events below). When a supporter is ready to make a purchase, Facebook provides a big, blue button at the top of the page. This is your “call-to-action” button, and can be used to send viewers straight to your Terri Lynn Fundraising Webstore to fill their online cart with premium nuts, snacks and sweets. Not selling online? You can also use the button to communicate about your in-person fundraising selling event, with call-to-action buttons like Contact Us, Send Message or Send Email.
How to Add a Page Button:
1. Log into Facebook and head to your fundraising group’s Page. On the right under your cover photo, you’ll see your page’s button in grey with a pencil icon and the word Edit. Click, and select Edit Button.
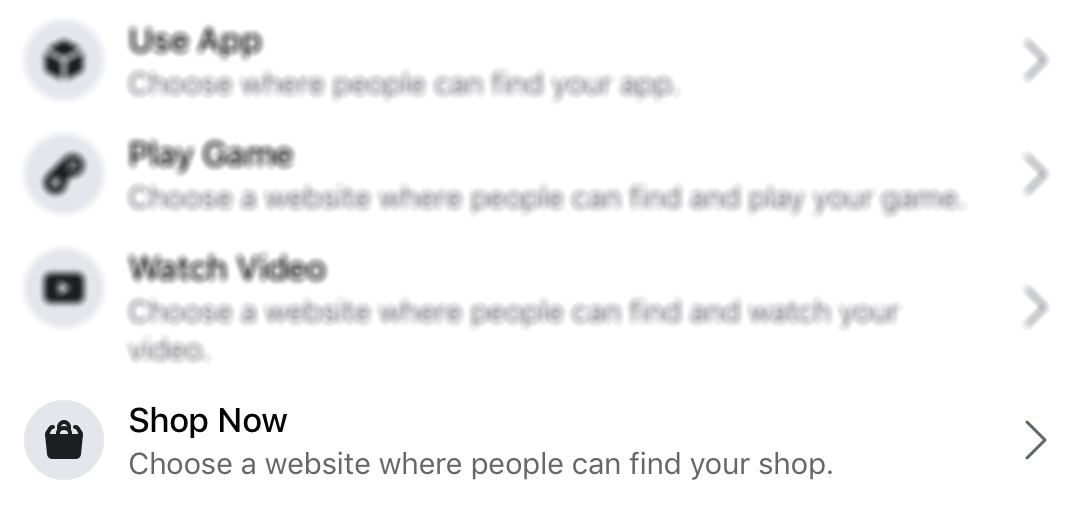
2. Scroll down to Shop Now and click, then enter your unique Terri Lynn Fundraising Webstore URL. Click Save and see your call-to-action button go live!
2. Set Up Your Own Facebook Shop
Add a Facebook Shop to your page and make it easy for supporters to browse your complete line of Terri Lynn products. You’ll link straight to your Terri Lynn Fundraising Webstore, where shoppers can complete purchases that benefit your organization. The “Shop” tab will live on your Facebook page, at the top near where your “Photos”, “Posts” and “About” features are displayed. It’s easy to click and watch supporters start shopping!
How to Set Up a Facebook Shop
1. On the left side of your Page, go to Settings > Templates & Tabs. Then, toggle on the Shop feature. To move it to the top of the list, click the six dots next to “Shop” and then drag it up to where you’d like it to be on your Page (we recommend at the top).

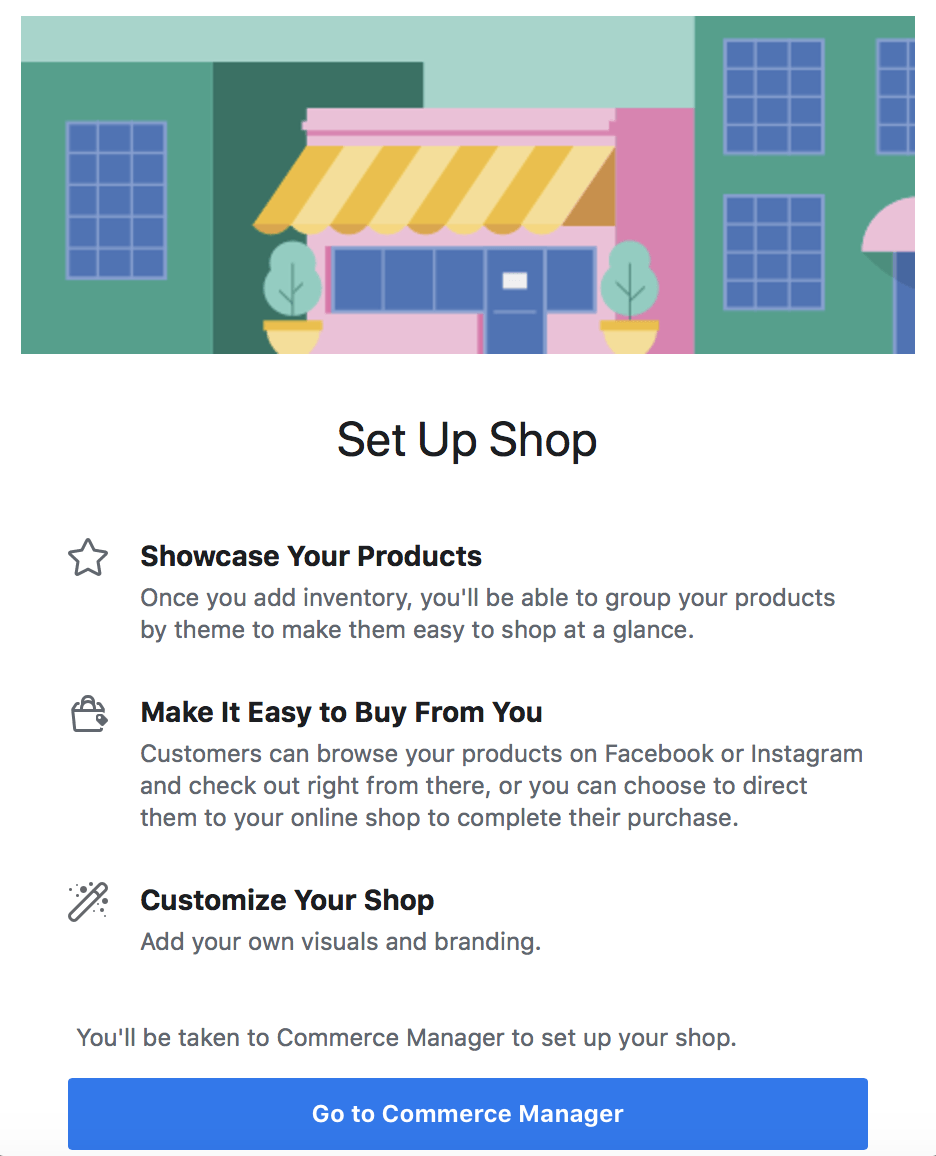
2. Then, head back to your main Page. Select Shop from your list of features, and a window will appear that says “Set Up Shop.” Click the button that says Go To Commerce Manager.
3. Here, you’ll land on a “Get Started” page. Click Next.
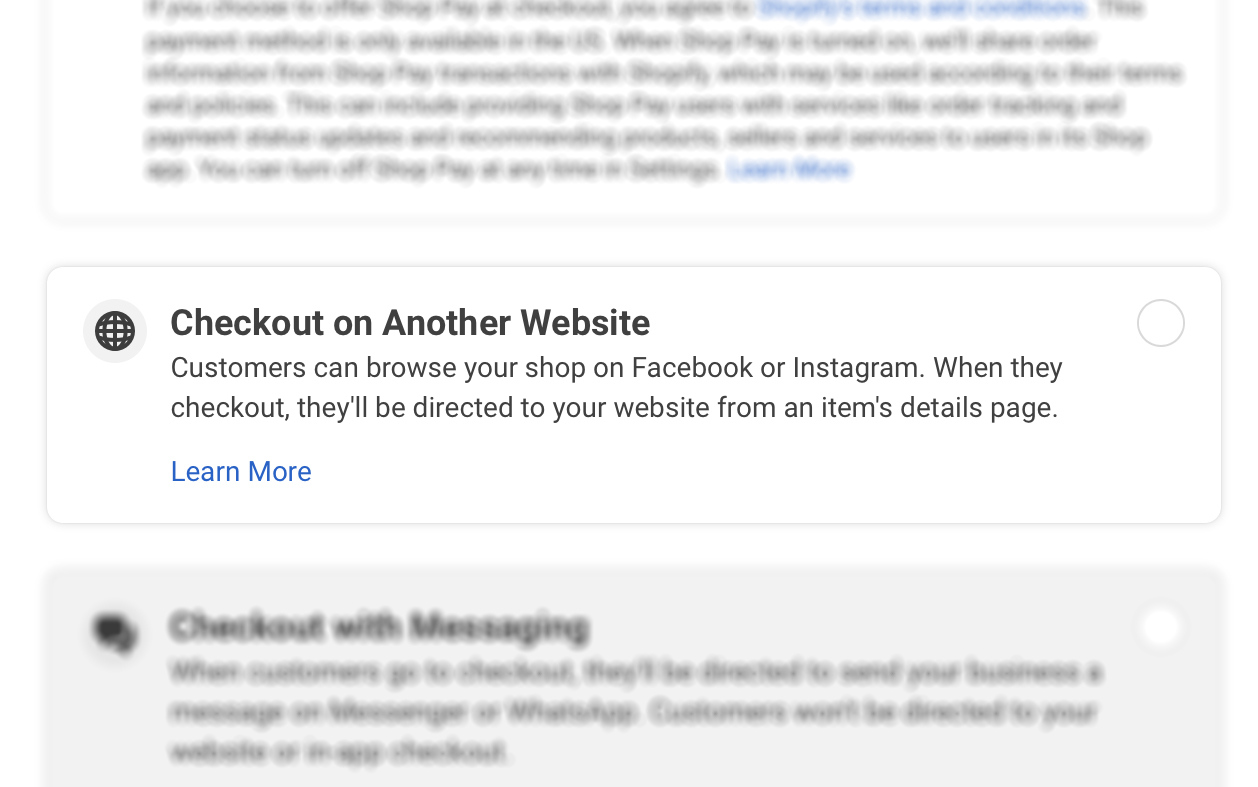
4. Scroll down on the following page until you get to an option called “Checkout on another website.” Select that checkbox, and click Next.
5. The next window will ask you to “Choose Sales Channels,” which is another way of asking which pages you’d like connected to your Shop. Make sure your fundraiser’s Facebook page is checked, and click Next again. You’ll be prompted to enter an email address, and then your Terri Lynn Fundraising Webstore link. Enter both, and click Next.
6. On the next screen, choose your shipping region by country. Click Next to get to the final screen. Once you’re reviewed your information, you can click the final Finish Setup button.
7. Almost done! Here, you’ll see a new screen that says “Your Shop is Ready to Fill.” This is where you’ll add the individual Terri Lynn items that your supporters can purchase in your Facebook store. Click Add Items at the top of the page, and follow the prompts to add Product Name, Description, Photo (all of which you can find on the Terri Lynn Fundraising Products page), as well as the Link to send shoppers to (which you can find by clicking the product on your Terri Lynn Fundraising Webstore).
For more instructions directly from Facebook on utilizing these free tools, visit these other helpful links:
3. Create a Facebook Event
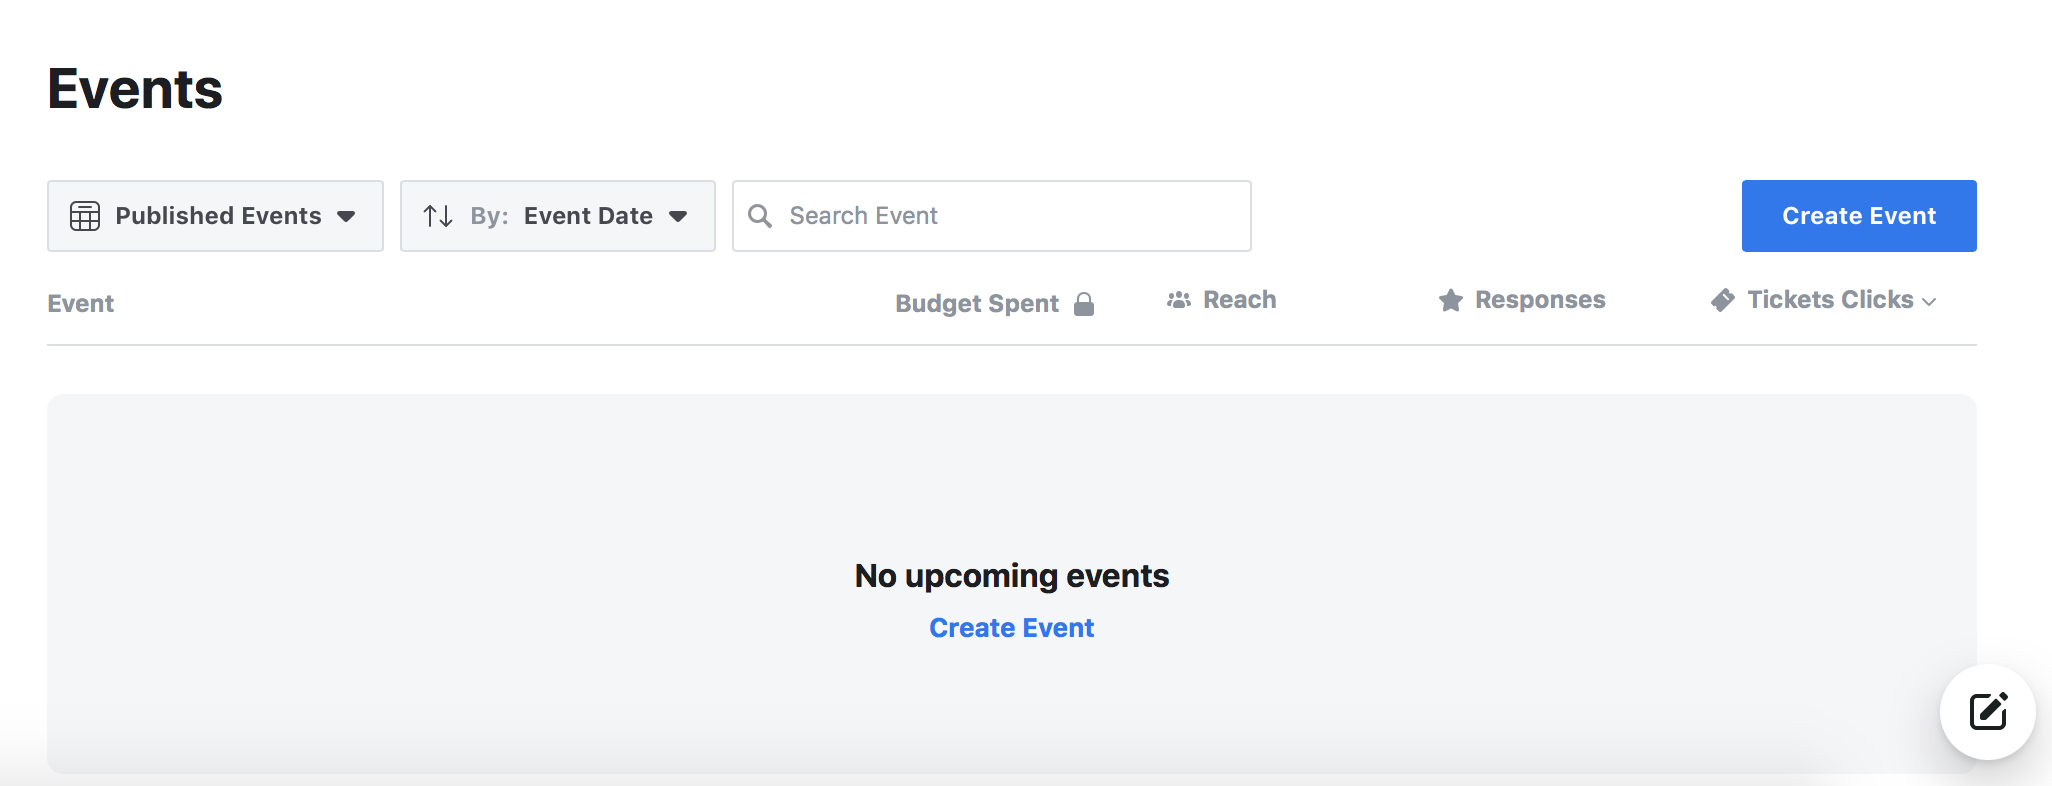
Facebook Events are the perfect way to get your supporters’ attention and keep it. By setting up an Event, you’ll let Facebook do all the legwork of sending automatic reminders, displaying a guest list (optional), and even connecting with your audience’s smartphone calendars. Whether your upcoming fundraiser is in-person or virtual, this feature is a great way to stay top of mind for your supporters in the days and weeks leading up to your big event.
How to Set Up a Facebook Event
1. Go to your Facebook page and click Events from the left side menu. Click the blue Create Event button on the next page.
3. Next, choose your Event Type. Select In Person or Online, depending on your fundraising plans.
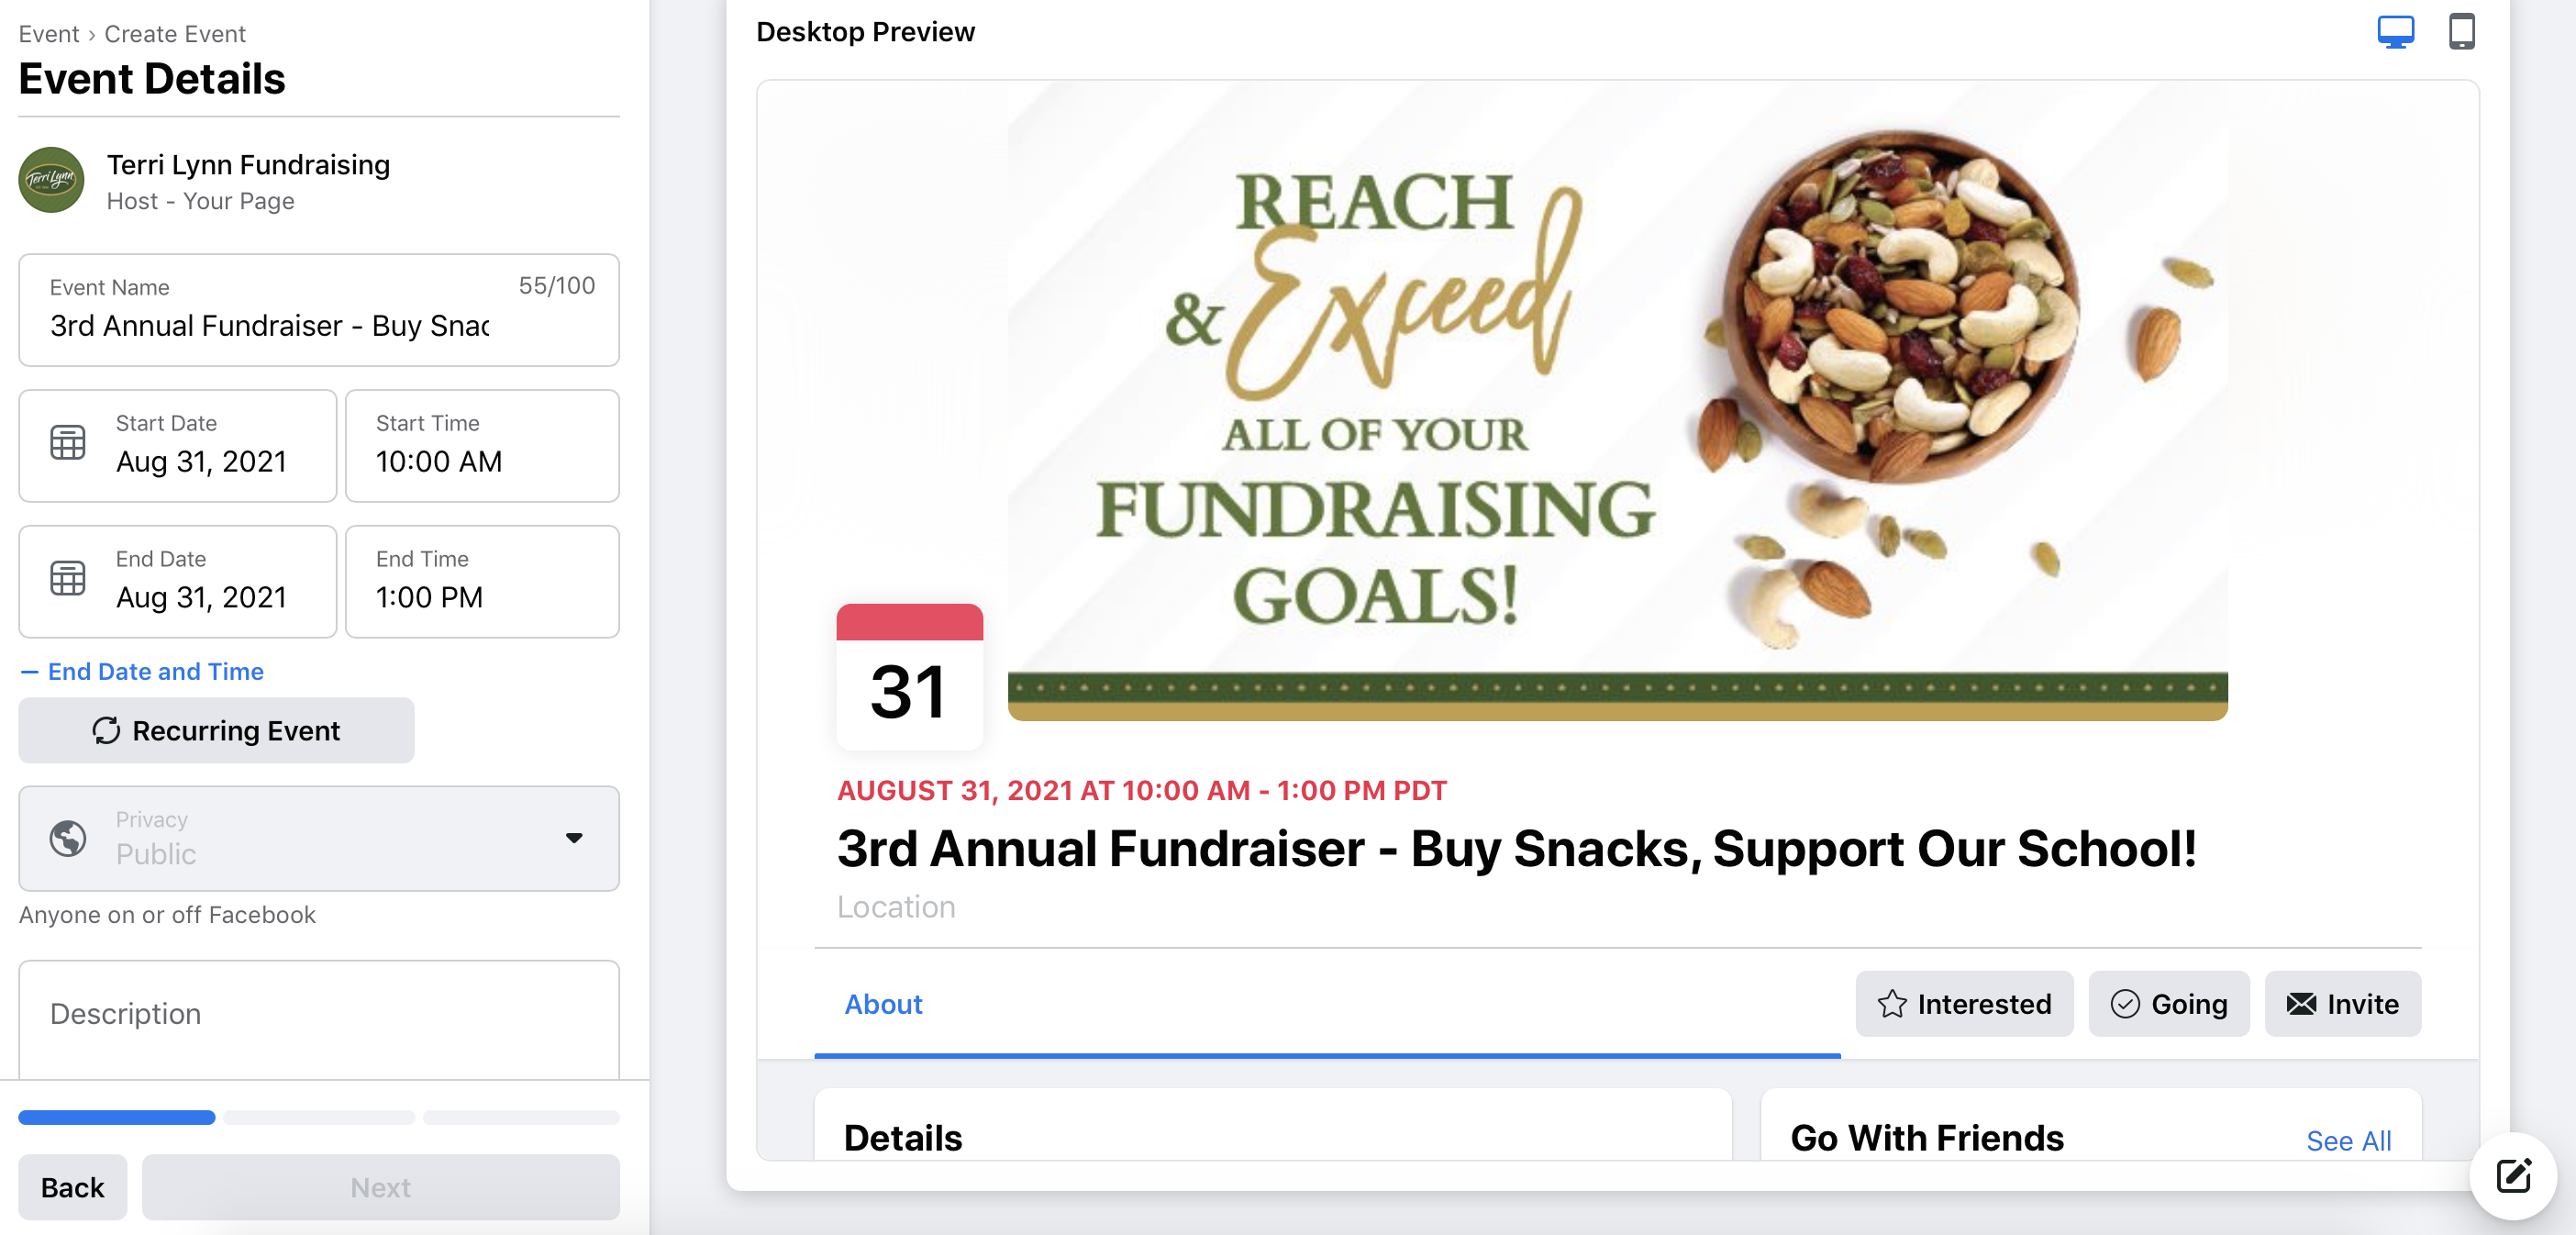
4. The next page will walk you through adding all the important details: Event Name, Date, Time, Description and Category. When you’ve filled out the required fields, click Next. If your event is online, you’ll be prompted to add a link (this is a great place to add your Terri Lynn Fundraising Webstore link). If your fundraiser is in-person, you’ll be prompted to add a location. Click Next.
5. Lastly, you’ll be able to add a cover photo for your Fundraising Event. (Hint: download our Promotions Kit for ready-made social media graphics).
4. Share on Group Pages
Facebook Groups are a great place to share information from your Page for a handful of reasons. First, they house a concentrated body of your supporters (think PTO groups, church groups, parent groups, etc.). Secondly, depending on group members’ settings, they’ll receive notifications every time a post is added to the group. This will give your fundraiser better visibility than regular social media posts. Finally, Groups are a great place to have conversations with engaged members. Consider asking questions or sparking new product or program discussions with your group posts.
Tip: Whether a Group is Public or Private, you’ll still need to join and become a Member before sharing your post. Go to the Group page and click Join Group — if it’s a private Group, you’ll have to wait for manual approval.
How to Share a Post to a Facebook Group
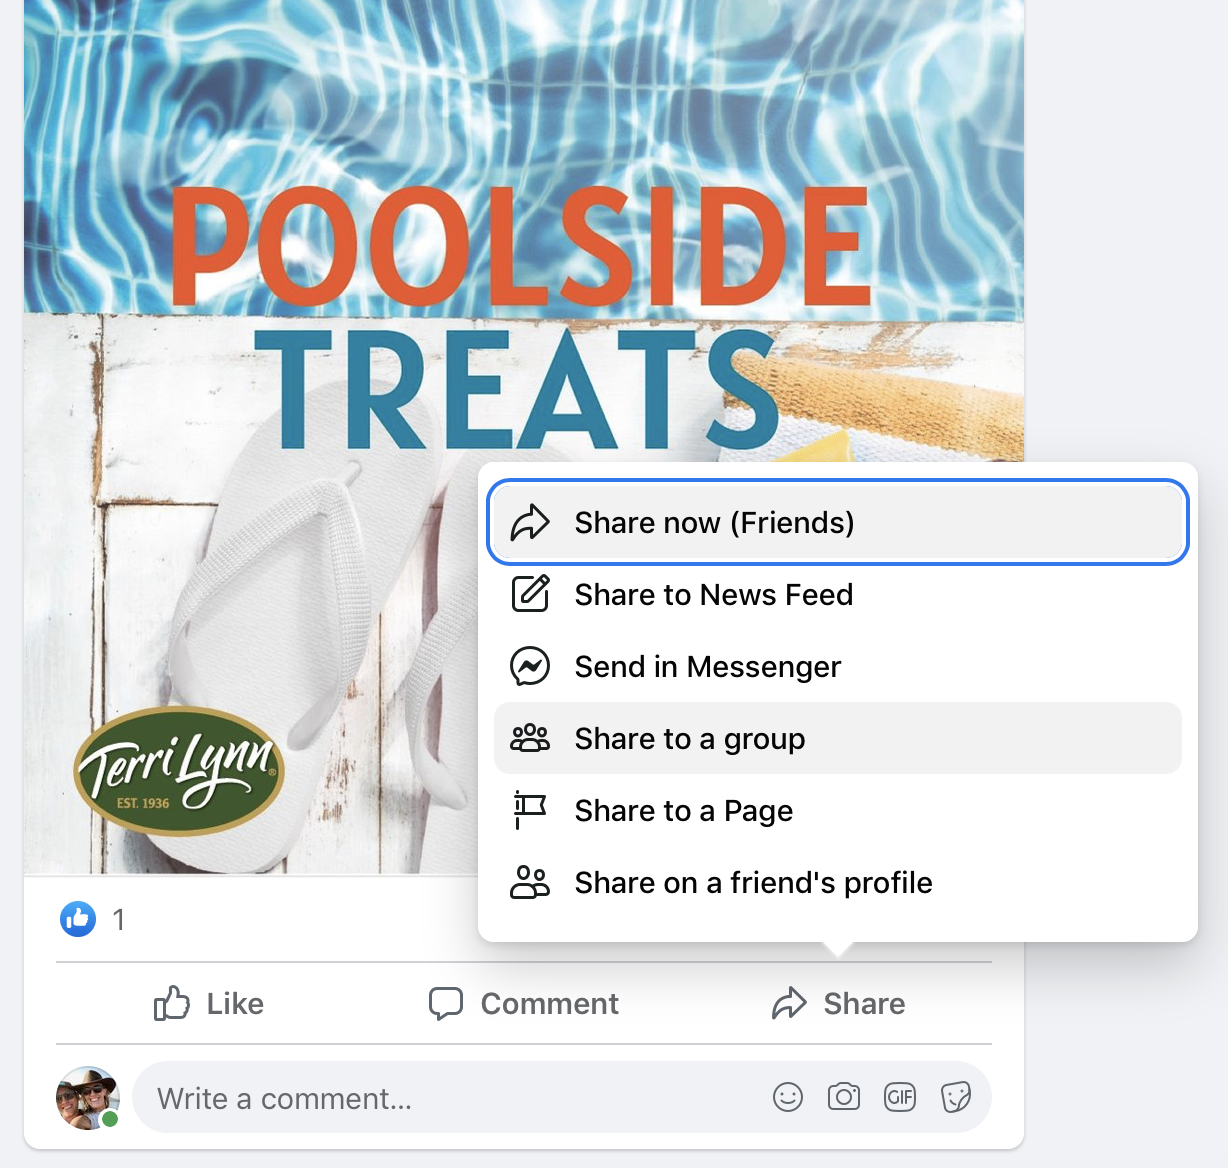
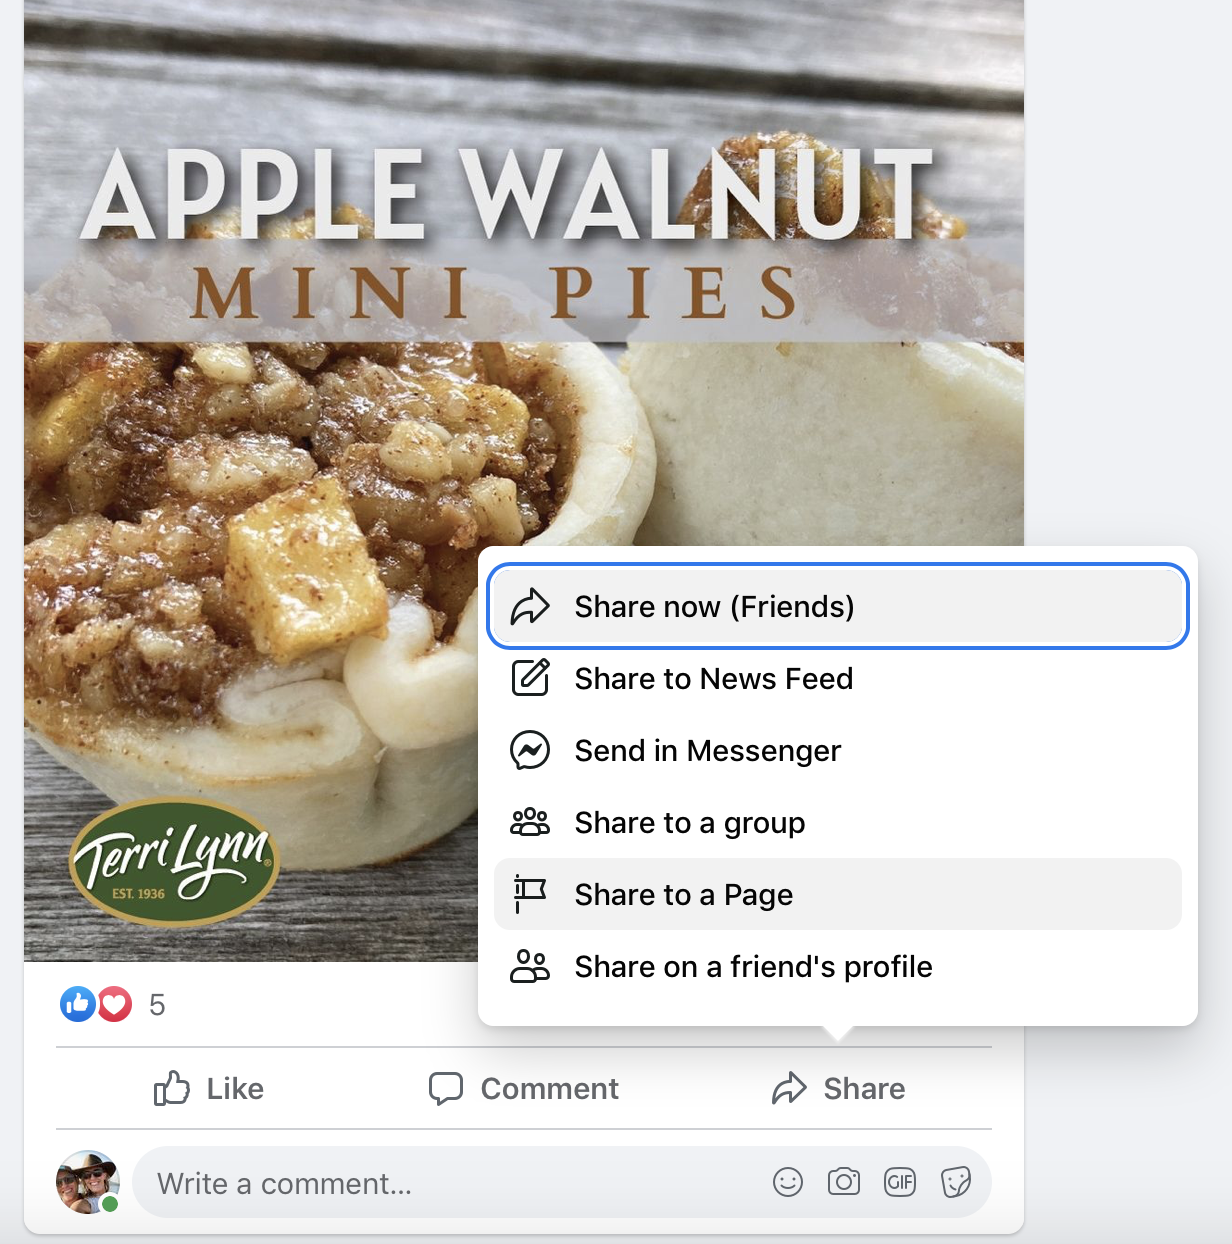
1. Go to your Page and find a post you’d like to add to a Group. Click Share at the bottom of the post.
2. From the list of options, choose Share to a Group. Select from the Groups that you’re a member of, and then add your own engaging captions, like “Who’s been craving these Terri Lynn mixes?” or “What was your favorite purchase from last year’s fundraiser?”
3. Finish by clicking Share.
5. Update Your Cover Photo
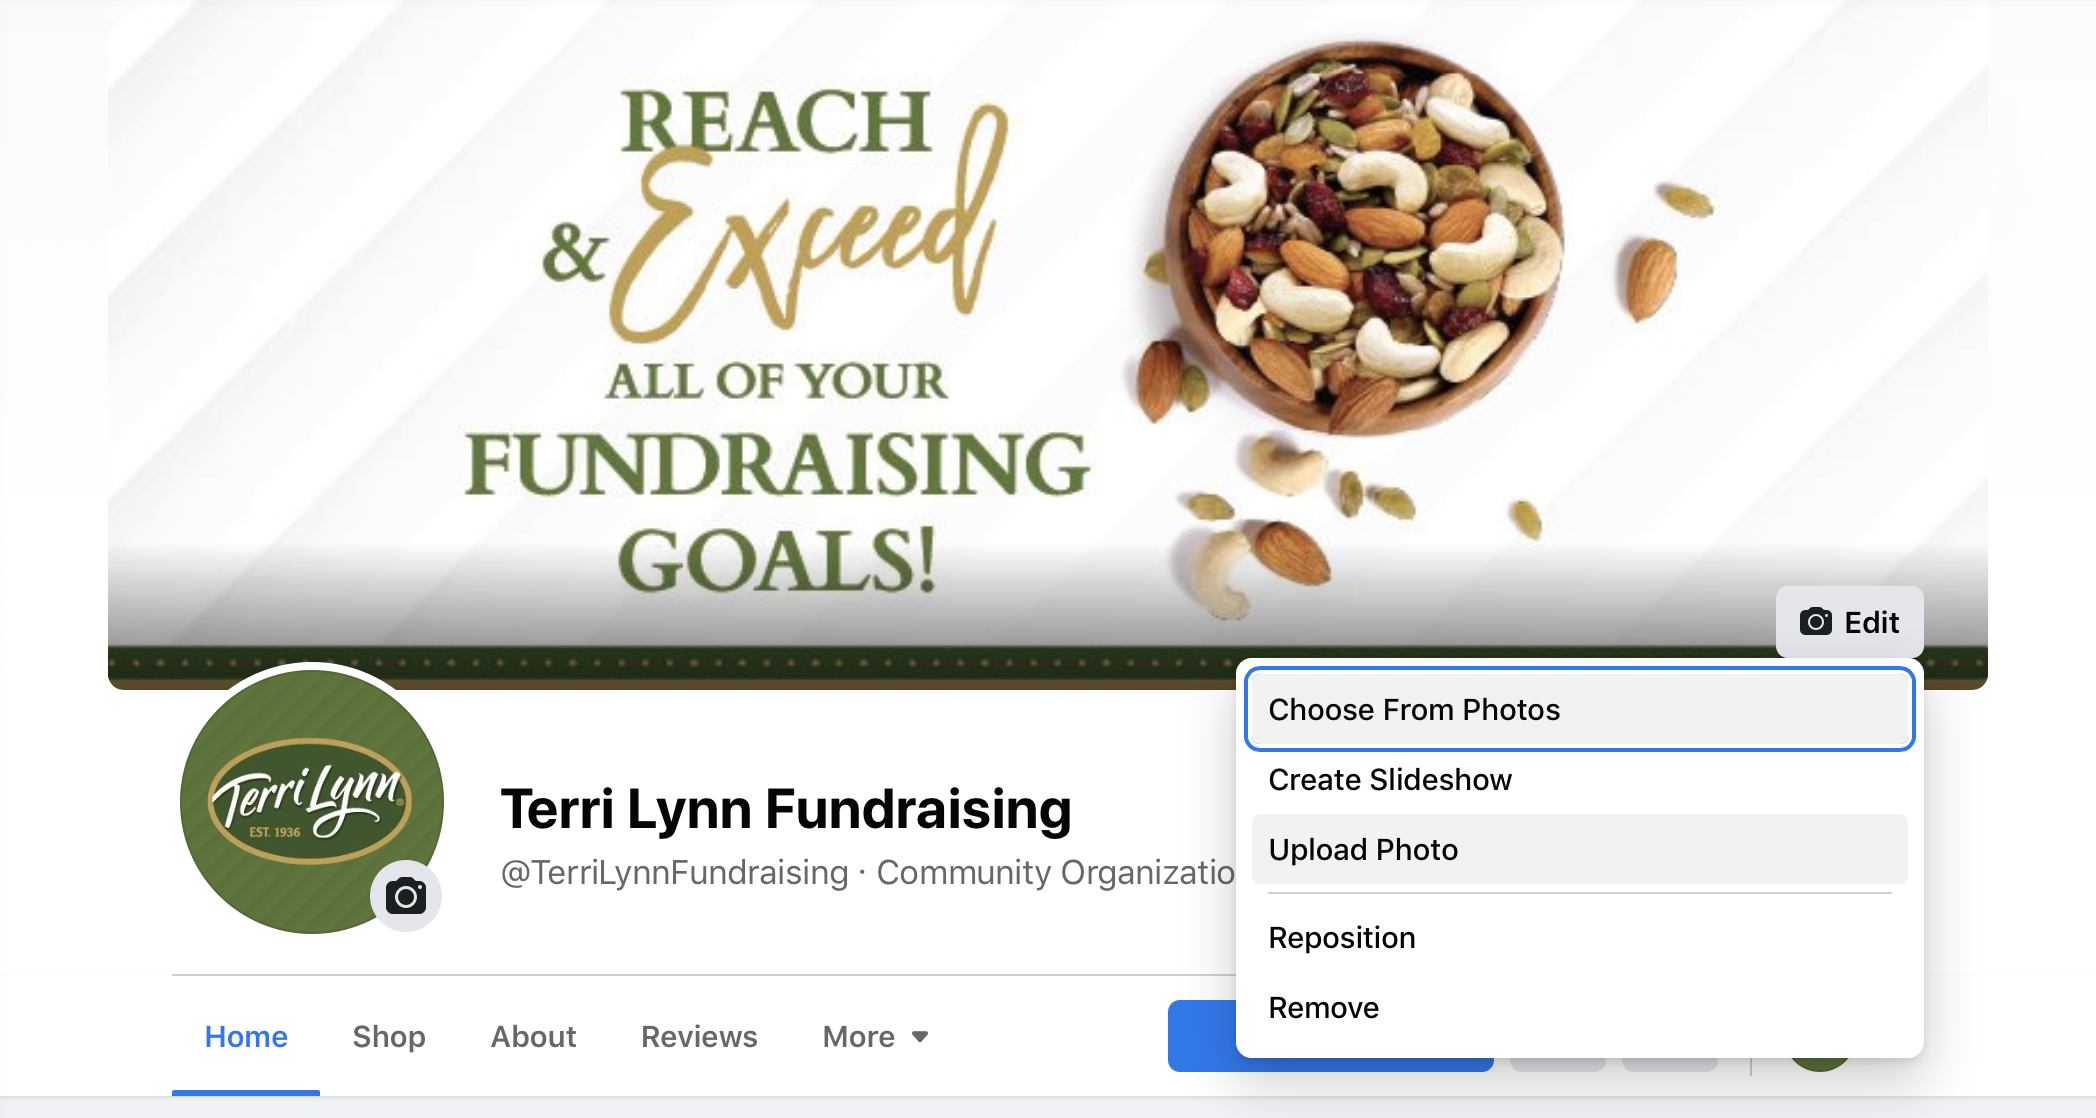
Your Page’s cover photo is prime real estate for letting your visitors know what you’re up to...fundraising! Using assets from your Terri Lynn Promotions Kit, you can use this area to promote your fundraising efforts to friends, family and followers. The specific photo dimensions for this area are 820 x 312 pixels, although most high-quality, horizontal-oriented photos will do.
How to Update Your Facebook Page Cover Photo
1. Go to your Page and click the Edit button on your Cover Photo.
2. Choose from your existing photos, or upload a new one from your device. Drag the photo around to position it where you like, and then click Save Changes.
6. Pin Your Top Post
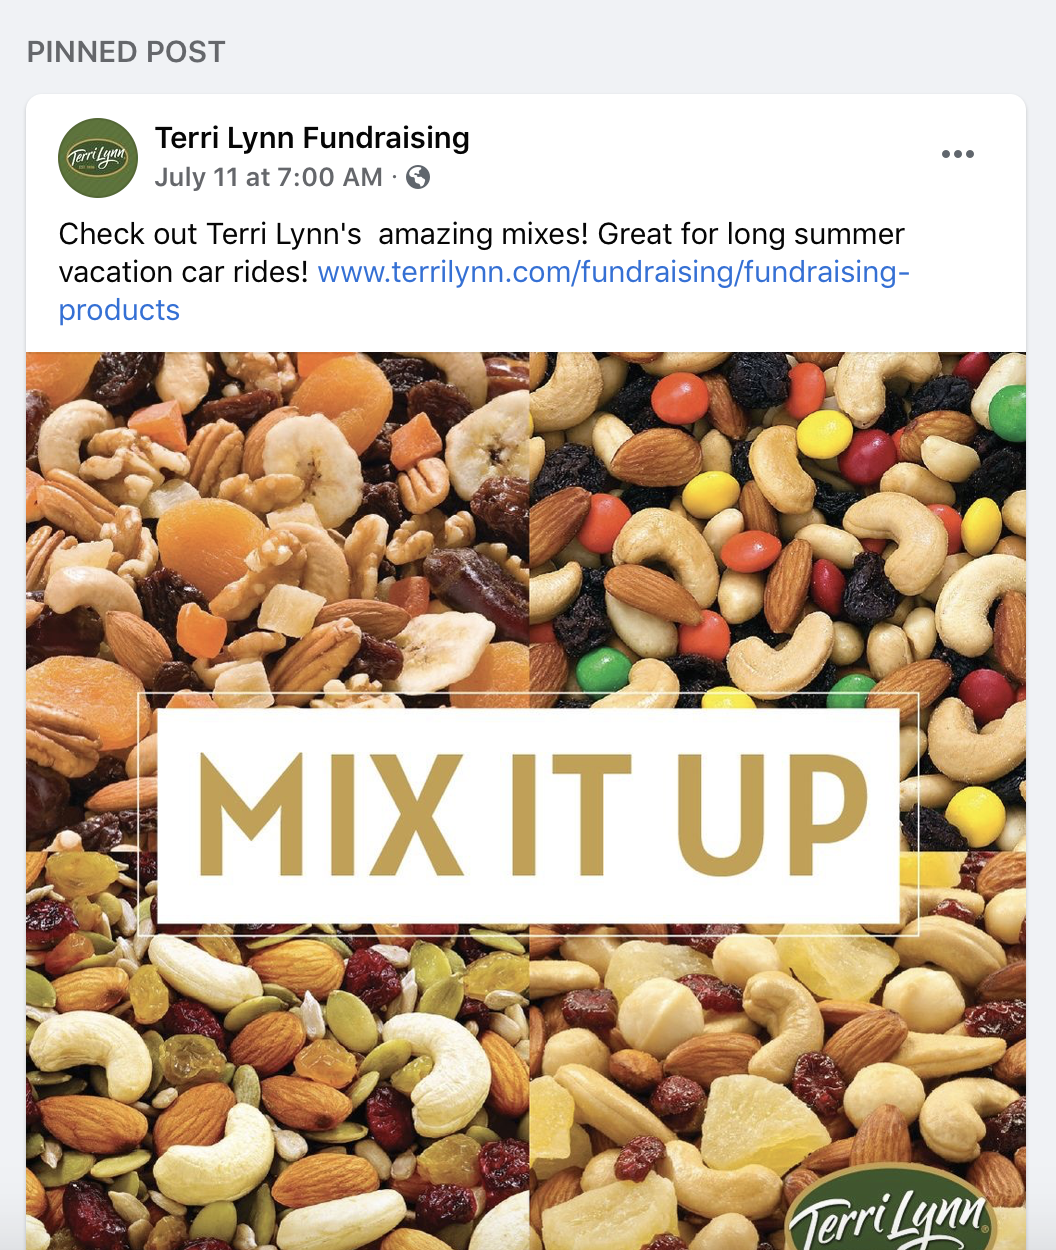
Let your most important post continue working for you by “pinning” it to the top of your page. This way, when someone visits your Page it’s the first thing they’ll see as they start to scroll. Ideally, this post will include the essential information about your fundraiser (date, time, your fundraising goal), as well as a link to your Terri Lynn Fundraising Webstore for quick and easy online ordering. Get ready-made images for your posts in our Promotions Kit.
How to Pin a Facebook Post to Your Page
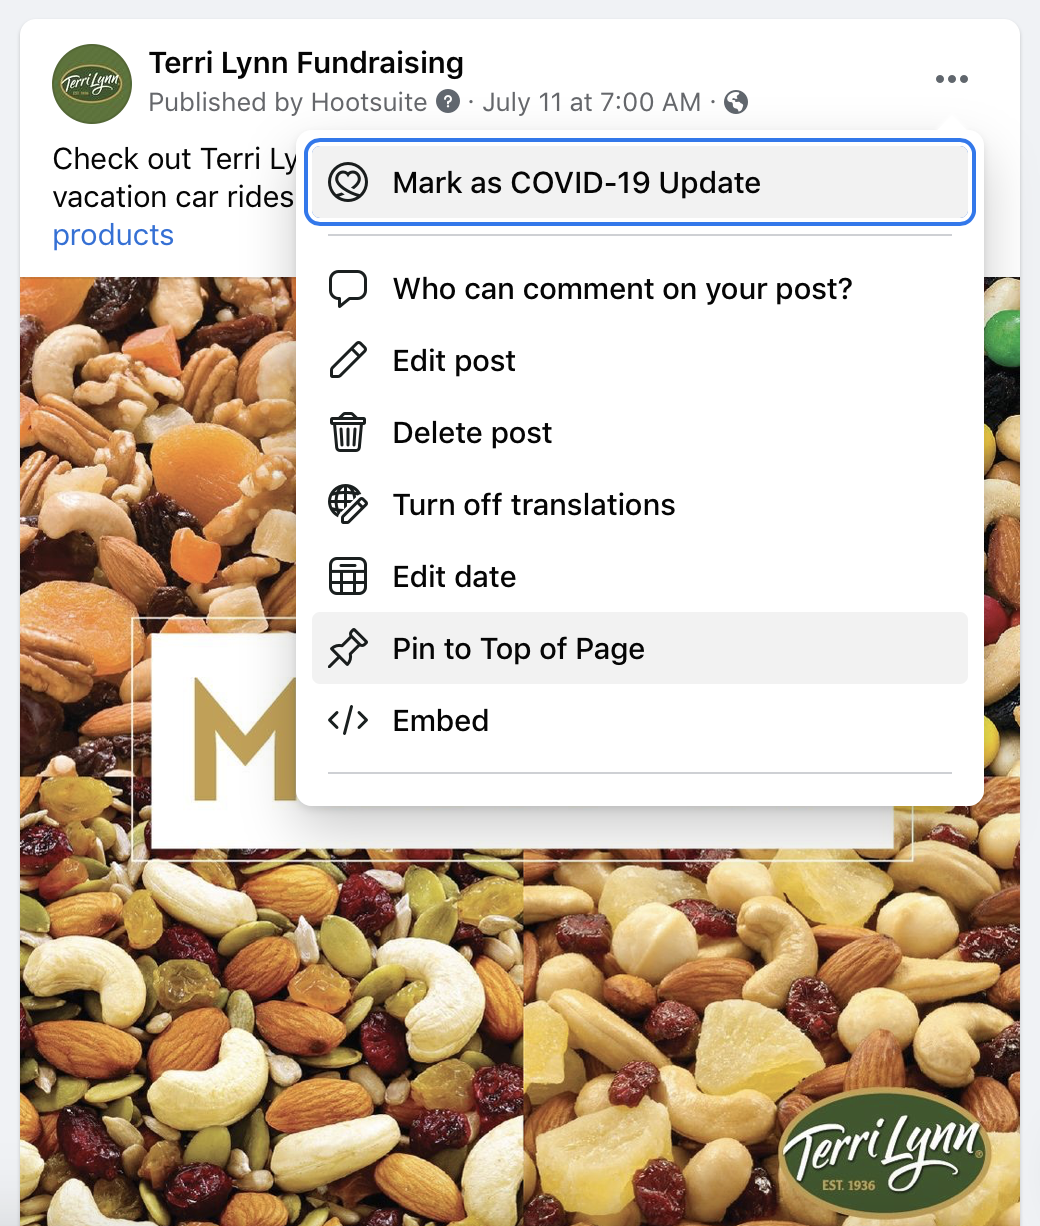
1. On your Page, scroll down to your pin-worthy post. Click the three dots in the top right corner of the post. Select Pin to Top of Page.
2. Later, when you’re ready to unpin the post, click the three dots again and choose Unpin From Page.
7. Share Posts From Terri Lynn Fundraising’s Facebook Page
The team here at Terri Lynn is here to help you on Facebook, too! Whether you want to share recipe ideas, Terri Lynn graphics, or fun facts about our line of premium mixes and snacks (did you know 91% of consumers worldwide say they snack at least once a day?), we have lots of resources that you can pull anytime from our own Terri Lynn Facebook page.
How to Share one of Our Facebook Posts
1. Visit our Terri Lynn Fundraising Facebook page. Find a post you’d like to share on your fundraising page, and then click Share at the bottom of the post. From the list of options, choose Share to a Page.
2. Select your Page, and then add your own caption (optional). Finish by clicking Share.
Let Us Know Your Facebook Tips, Too!
How have you used Facebook to fundraise with Terri Lynn in new ways during the last year? We’d love to hear about it and share your story with other organizations partnering with us to raise money for great causes. Contact us about your successes with Facebook and our easy-to-use programs, and we’d love to feature you on our website or newsletter.
Photo courtesy: Pexels, Brett Jordan